
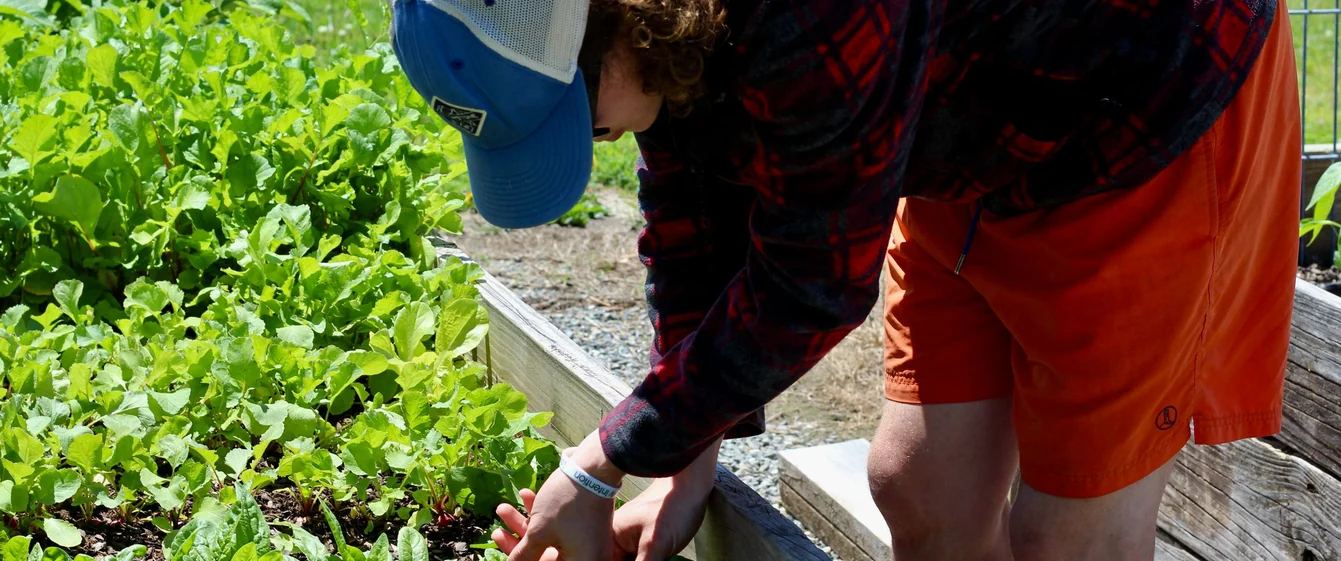
Plan a Raised-Bed Watering Layout: Drip Lines & Hose Access
Start with a layout, not a product
A useful raised-bed watering plan gives routine plant watering and occasional hand watering their own roles. Drip lines can serve fixed beds; a hose can reach containers and areas outside those lines. Start with a sketch of the tap, beds and paths, then decide where each method makes sense. You do not have to choose one system for every task.
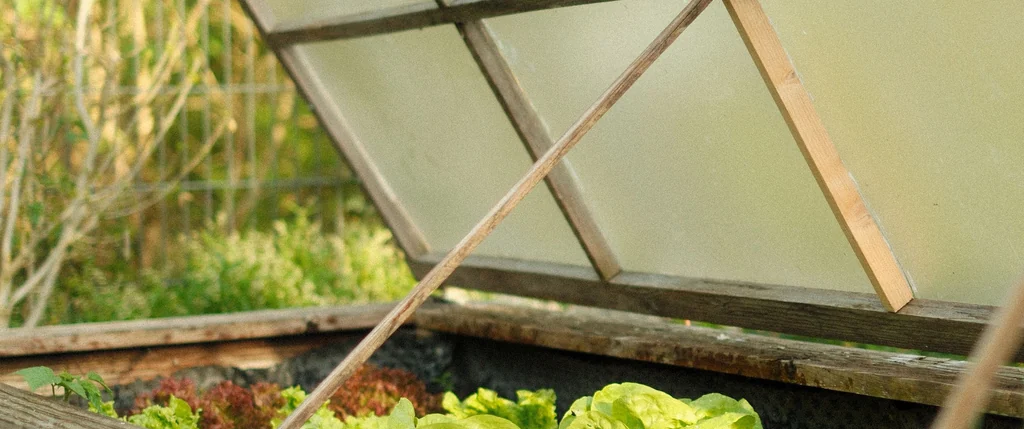
Separate regular beds from changing tasks
List the places watered in a normal week, then note occasional jobs such as a newly planted container or a bed being replanted. A permanent row and a pot that moves between the patio and greenhouse may need different arrangements. This task list helps you avoid building a fixed system around a temporary layout.
Make a simple garden plan
Draw bed edges, access paths, gates and the water source. Mark where you can stand to reach each bed without laying the hose across plants. Keep a separate note of the routes used for tools and wheelbarrows so watering equipment does not become an obstacle.
Measure along the paths
Measure from the proposed reel location to each watering position, following the path you will actually walk. Use the longest route for your hose-length shortlist, not the diagonal distance across the beds. Measure the water-source connection separately from the hose that reaches the garden.
Assign fixed areas to drip zones
For beds that keep a fairly stable layout, consider where drip tubing would deliver water and how you would access it for checks. Different planting needs may require separate zones. Use the chosen irrigation system’s instructions for line lengths, emitters, filtration and pressure regulation rather than treating every bed as identical.
Keep a hand-watering route available
Even with drip irrigation, plan how a hose could reach an area being replanted or a container outside the fixed zones. Keep that route clear of bed corners. This is a layout decision; it does not mean a garden reel can be connected directly to drip tubing without the correct system components.
Work through a small example
Imagine three beds along one path and two pots beside a patio. The fixed beds are candidates for a drip layout, while the pots and changing plantings need a flexible watering route. Sketch both before buying equipment so the tap connection, storage point and access paths work together.
Check the longest hose route in that example
If the actual route to the farthest pot is 46 FT, a listed 50 FT hose leaves only a nominal 4 FT difference. An alternative route around a bed might be longer. Recheck the path and the reel’s usable-extension instructions before choosing; a nearby-looking bed is not always the easiest one to reach.
Allow access for routine checks
Place connections and irrigation controls where you can see and reach them. A layout that hides a joint behind stored equipment can make a small leak or blocked line harder to notice. Review the plan from the position where you will use and check it, not only from above.
Think about seasonal changes
Leave room for taller plants, new supports and changes in bed use. Revisit the plan when planting changes instead of assuming the route measured early in the season will stay clear. Keep a record of which beds share an irrigation zone so later changes are deliberate.
Check the water-source arrangement
If the hose and irrigation system share a tap, plan how they will be used and which rated components are required. Check the exact irrigation instructions and local water-supply requirements. Similar-looking hose ends do not establish connection compatibility or suitable operating pressure.
Evaluate the routine after setup
Observe whether water reaches the intended areas and whether the hose path is workable. Adjust watering to the plants, soil and conditions rather than keeping a fixed daily amount by habit. A convenient layout is useful only if you can operate and check it consistently.
Write down what you have chosen
Keep a short record of the reel SKU, measured route, irrigation system and connection requirements. Include a sketch or a photo of the layout for your own reference. This makes a later extension or replacement easier to discuss without guessing which part was originally used.
Choose equipment from the plan
For hose reach, compare the FYKIKTA FDWB options of 50, 65, 82 and 100 FT with your measured route and available housing space. For drip irrigation, choose from the requirements of the irrigation system itself. Product selection follows the layout; it should not force an unsuitable path through the beds.
The result: two jobs, one workable layout
The aim is a garden where regular beds can be watered predictably and occasional tasks still have easy hose access. If you are still deciding between methods, read the separate drip-irrigation-versus-hose-reel comparison. Use this layout guide once you are ready to place equipment and measure routes.
Continue reading, then browse FYKIKTA garden hose reels, air hose reels and spray guns: Raised Garden Bed Watering: Drip Irrigation vs. Hose Reels · Hand-Watering Raised Beds: Hose Routes & Daily Checks. Compare garden hose reel models.
Related articles
Fall Garden Care: Hose Reel Reach, Handling & Storage
Plan fall watering with a suitable hose route, documented reel length and model-specific care and storage instructions.
Fall Hose Reel Review: Keep, Repair or Upgrade?
Review this season’s hose handling, reach and storage problems before deciding whether to keep, repair or replace your setup for next year.
Raised Garden Bed Watering: Drip Irrigation vs. Hose Reels
Compare drip irrigation with manual hose watering for raised beds, including targeted delivery, flexibility and system setup. Check model details before choosing.